/archive/3_post
Permalink : www/retr0_dev/posts/3_post.html
Post date : Wed Feb 16 2022 1310
"Mesh swapping in AE"
What we are going to do, is edit base gamefile meshes of the crowbar, to turn it into a really cool cube.
This tutorial can also be applied for other meshes/models/bundles, it is not limited to the crowbar.
You may not be able to export a mesh file, sometimes you may get lucky and be able to extract LOD1 but not LOD0 for example. At the very least, try and find a mesh file you can export so that you know the scale and orientation. (Maybe you can't export the crowbar, so try exporting another melee weapon such as the knife and use the knife as the base; but just replace the crowbar in stead. The method is the same.
Trial and error! You won't get it perfect every time. Also, edit the mesh directly as edits to the object will not reflect in the export. E.G If you want to scale it down, go into edit mode and change the scale in there. Same goes for rotation.
Requirements :
- Unity LTS Release 2018.4.26f1 (Get the Unity Editor Download Assistant)
- Blender 2.79
- UnityAssetBundleExtractor (UABE)
How to start?
First step: Finding the weapon textures bundle files.
For this, go in your gamedir
GameDir\EscapeFromTarkov_Data\StreamingAssets\Windows\assets\content\weapons\crowbar\ and copy the file
client_assets.bundle to a backup folder inside the same folder.
Then make a folder wherever you want and copy paste the same file in there too for ease of use.
Step two : Extracting the desired texture file.
For this step, we will use AssetBundleExtractor.
Open AssetBundleExtractor.exe where you extracted it, you should have this window open after Click on File ->
Open and select client_assets.bundle in your folder and click "open".


Click on "yes" and name the file to save like you want. I will call it extracted and save. After doing this,
click on the "Info" box on the main window.


and this window will pop up on the screen:

Find the mesh file located within and click 'Plugins', then export as dae. (Some models can't be exported yet
with current version of exporter. But you can still try! Just skip the export step and import your model into
blender.)

Save it within the project folder that you've made, and then open it in blender.
Step three: Edit the mesh file to the new mesh.
What you're going to want to do is import the model you've got made and overlay it over the model.

Change the material name of the model to m0mat.

Then export as .dae

Step four: Using unity to create the bundled mesh.
Load up unity and create a new project.

Name it whatever you want.

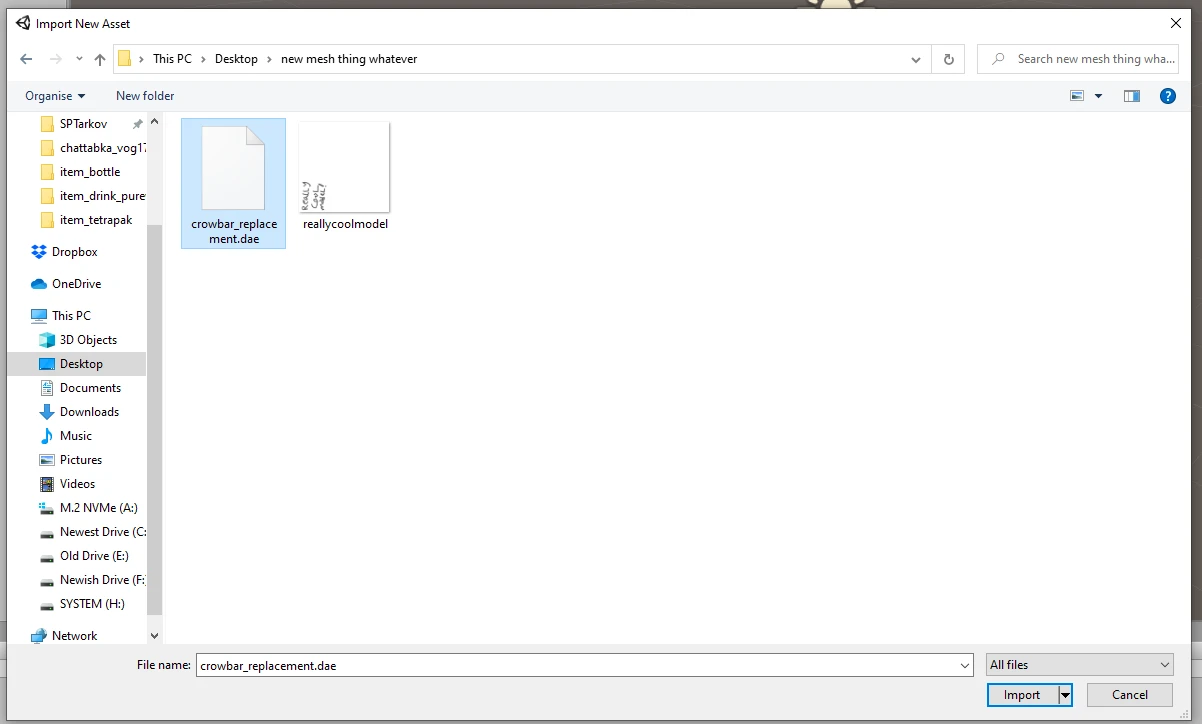
Import new asset. (The .dae you exported.)

Drag and drop the new model asset into the main window.


Set the transforms and rotations to 0.

Now go to build settings.

Click 'Add open scenes'. If it asks for a save file name, call it whatever you want.

And then click 'Build', save it to your project folder and let it run.
Step five: Opening your newly made bundle and exporting the raw mesh files.
Now we have to use the Unity Asset Bundle Extractor all over again, except this time it's to export the raw
mesh files from the bundle you just created. It's pretty much the exact same steps. Navigate to your project
folder and open up 'bestmodelever_Data' or w/e you called the project.

Do the same as you did before, open the sharedassets0.assets file.


And click 'Yes', name the unpacked file whatever you want, then click 'Info' again.
You should see the bundled
mesh in here, mine is called 'cube' but it should be called whatever the name of the mesh was inside of blender
before you exported it.

You want to click 'Export Raw' and save the file with the name of the LOD0, which in this case is
weapon_gf_crowbar_LOD0
Then do the same with 'Export Dump' and save that file too with the same name until
you have the two files located below.

Then open up the text file.

You'll notice the string m_Name is the same as the mesh file in blender. You could set this up ahead of time by
renaming it to weapon_gf_crowbar_LOD0 in blender, but you can do it here too. (It's useful for replacing LOD1's
as well, without having to re-export a whole new model bundle with that name; etc.)

Step six: Replacing the mesh with our newly acquired exported mesh files!
Open up another window of the unity extractor, go back to the crowbar unity asset bundle again and go through
the same process until you're back at the info screen.

Click 'Import Raw' and then import the weapon_gf_crowbar_LOD0.dat file.
Then, click 'Import Dump' and then
import the weapon_gf_crowbar_LOD0.txt file. (This makes sure it has the correct information/naming in the mesh
data.)

And then click 'ok' at the bottom and click 'yes' to save changes.

Then go to 'File' and 'Save'. Save the file as client_assets.bundle to your project folder.


Once it's saved, simply replace the client_assets.bundle in your crowbar bundles folder with the one in your
project folder.

Step seven Launch the game!
Now that every step of this tutorial is done, you can essentially start the game, and see the new mesh in game.
(Though it'll be using the original textures, unless you replace those too.)
Follow the tutorial for texture
replacement in the same fashion as you do normally.